
Little M&M just turned 2! His favorite TV show is currently PAW Patrol, on Nick Jr, so I chose this as his party theme. Take a peek at how we prepared, and what went on during party time!
Invitation
I created this invitation in Photoshop Elements. Then I printed and mailed them out. Please pardon the areas where I've whited out personal information!

Decorations
This sign was hanging on the door, to greet our guests as they entered. I created it in Photoshop Elements. The picture of Marshall, which I found via Google, is attached with pop dots!

We also created a big ol' fire hydrant for the bathroom door, so all of the pups knew where to go!

Nick Jr. provides the wonderful printable for this birthday banner. DONE.


They also give you a printable to create your very own Lookout, just like in the show! We set this up on the mantel, which is pretty close to our next feature. Keep scrolling, and you'll see why!

At every birthday party, I like to have a photo display of some sort. Remember the giant #3 we displayed at Honey Pot's Little Mermaid birthday party? How about the vellum frames we hung on the window for Little M&M's Hot Air Balloon party? Or the simple Elmo frame we made for a single feature photo at Honey Pot's Elmo party? I am very proud of this year's display. During the show PAW Patrol, when Ryder is giving the pups their mission, he displays some images on a big screen TV. I recreated that screen, with each of the pups' badges and Ryder himself, and put Little M&M's photos on the screen.

So while the slideshow is playing, Little M&M's picture changes, but Ryder and the badges stay the same. Love how this came out. True fans of the show can appreciate it too, so I'm glad we had a few young fans at the party.

Inspired by my niece's Daniel Tiger 2nd birthday party, my sister and I created these fan decorations with some PAW Patrol characters. Each fan required six sheets of construction paper. Super simple to do, and they look awesome.

Party Food
In addition to grown-up beverages, we offered water bottles, with labels I made in Photoshop Elements.

Here's the food table! Keep scrolling to see each item's description!

First the napkins, for which I created a simple "wipe your paws" sign. It was such a cute idea; I had to do it!

Next, the puppy chow! I included three varieties of puppy chow and served them in dog bowls from the Dollar Tree. I found tons of recipes from Something Swanky and narrowed it down to three. We chose to make lemon...

cinnamon churro...

and S'mores.

We also served "fruit kibble" and "pup-corn." I found these ideas from here, although they don't link to a blog post.


We served Tostitos with salsa and guacamole, but couldn't come up with a clever name for them!

Of course, "dogs in a blanket."

A favorite recipe, cheesy bean dip, was served with a label called "puppy slop."

And the CAKE! We found the inspiration from Just Deanna. It is two heart cakes, formed into a puppy shape with just one cut. So cute. We made one chocolate and one vanilla puppy. Here is one of them. The tongue is just made from paper.

Here's the birthday boy, blowing out his candle!

Party Activities
Nick Jr. offered a free printable game of Pin The Badge on Marshall. They offer Skye too!

It didn't seem as popular as Pin the Nose on Elmo, from Honey Pot's party, but a few kids were interested. So they played, and then we quickly moved on to the hit activity of the party!


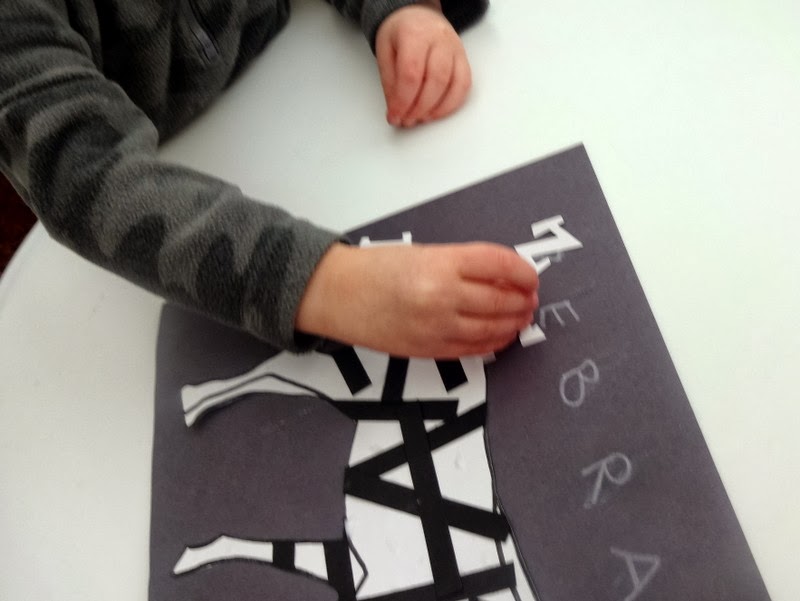
For our craft, we did a puppy adoption, which I've seen all over Pinterest in my research. However, we added an extra element of fun by providing blank white puppies that they could decorate with fabric markers! Both come from Discount School Supply. What a hit this was!
First I made a sign to explain the craft; although, ignore the part about brads. We just tied the ribbons in a knot. This way there were no small pieces for littles to lose.

There were twelve puppies total, and I just placed them in a basket. On the right side of the shelf is just a few spools of ribbon from my scrapbooking supply. We used these for collars and leashes.

The printable for these certificates of adoption comes from Chickabug!


Even some adults wanted to partake in the craft!

Here are a few of the final products. The kids just loved them; not just to decorate, but to play with too!

Attire
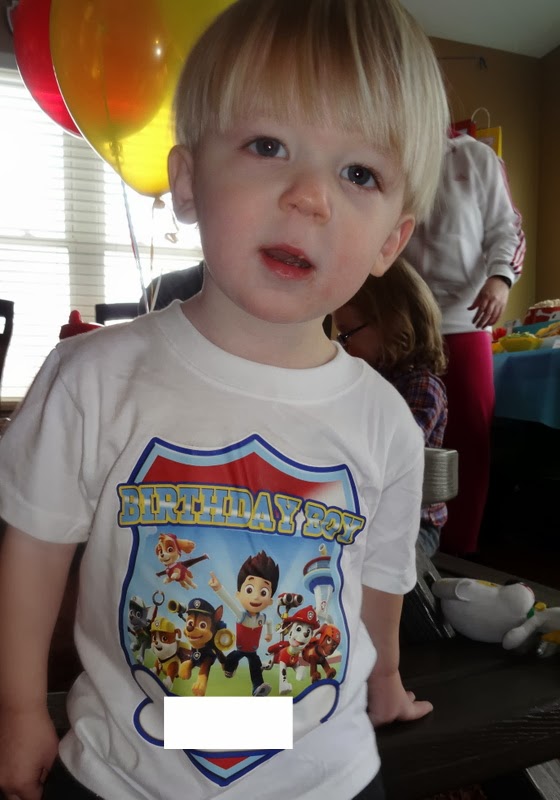
I must give a shout out to this Etsy shop, The PartyBots, which created this awesome PAW Patrol shirt for Little M&M! He is in love with it! I whited out his name along the bottom, but it's personalized!
Party Favors
Here are the party favors! I made labels with each child's name and called them "Doggie Bags."

Inside each doggie bag was the following: a puppy coloring book ($1 each from Target), puppy stickers, a mini frisbee, the child's adopted and decorated puppy craft, and a treat bag with the child's favorite puppy chow from the party.

Here's a close-up of the mini-frisbee. I made a label for each that says, "Thank you for CATCHING [Little' M&M]'s party!"

Thank you for checking out my son's 2nd birthday party! It was tons of fun! Now onto planning Honey Pot's 4th! How did this come around so quickly?!
* * * * * * * * * * * * * * * * * * * * * * * * * * * * * * * *


