Showing posts with label letter F. Show all posts

Sunday, November 17, 2019

F is for Farm!

Sweet E and I had a lot of fun this week learning about the letter F and farm animals. Take a look back at similar themes I've done with with Honey Pot and Little M&M, or keep scrolling to see what we did this week!


Books
We borrowed a few farm books from the library, combined with one of our favorites from our home collection, Open the Barn Door. And we love the I Spy series--so perfect for toddlers, and the peekaboo style is a lot of fun.


Letter F - Do a Dot
I printed an F from Twisty Noodle and Sweet E got to work with her dot markers.


At first she dragged it along like a regular marker, but she soon realized it worked better as a stamp!


And she finished the whole thing that way.


Cow Craft
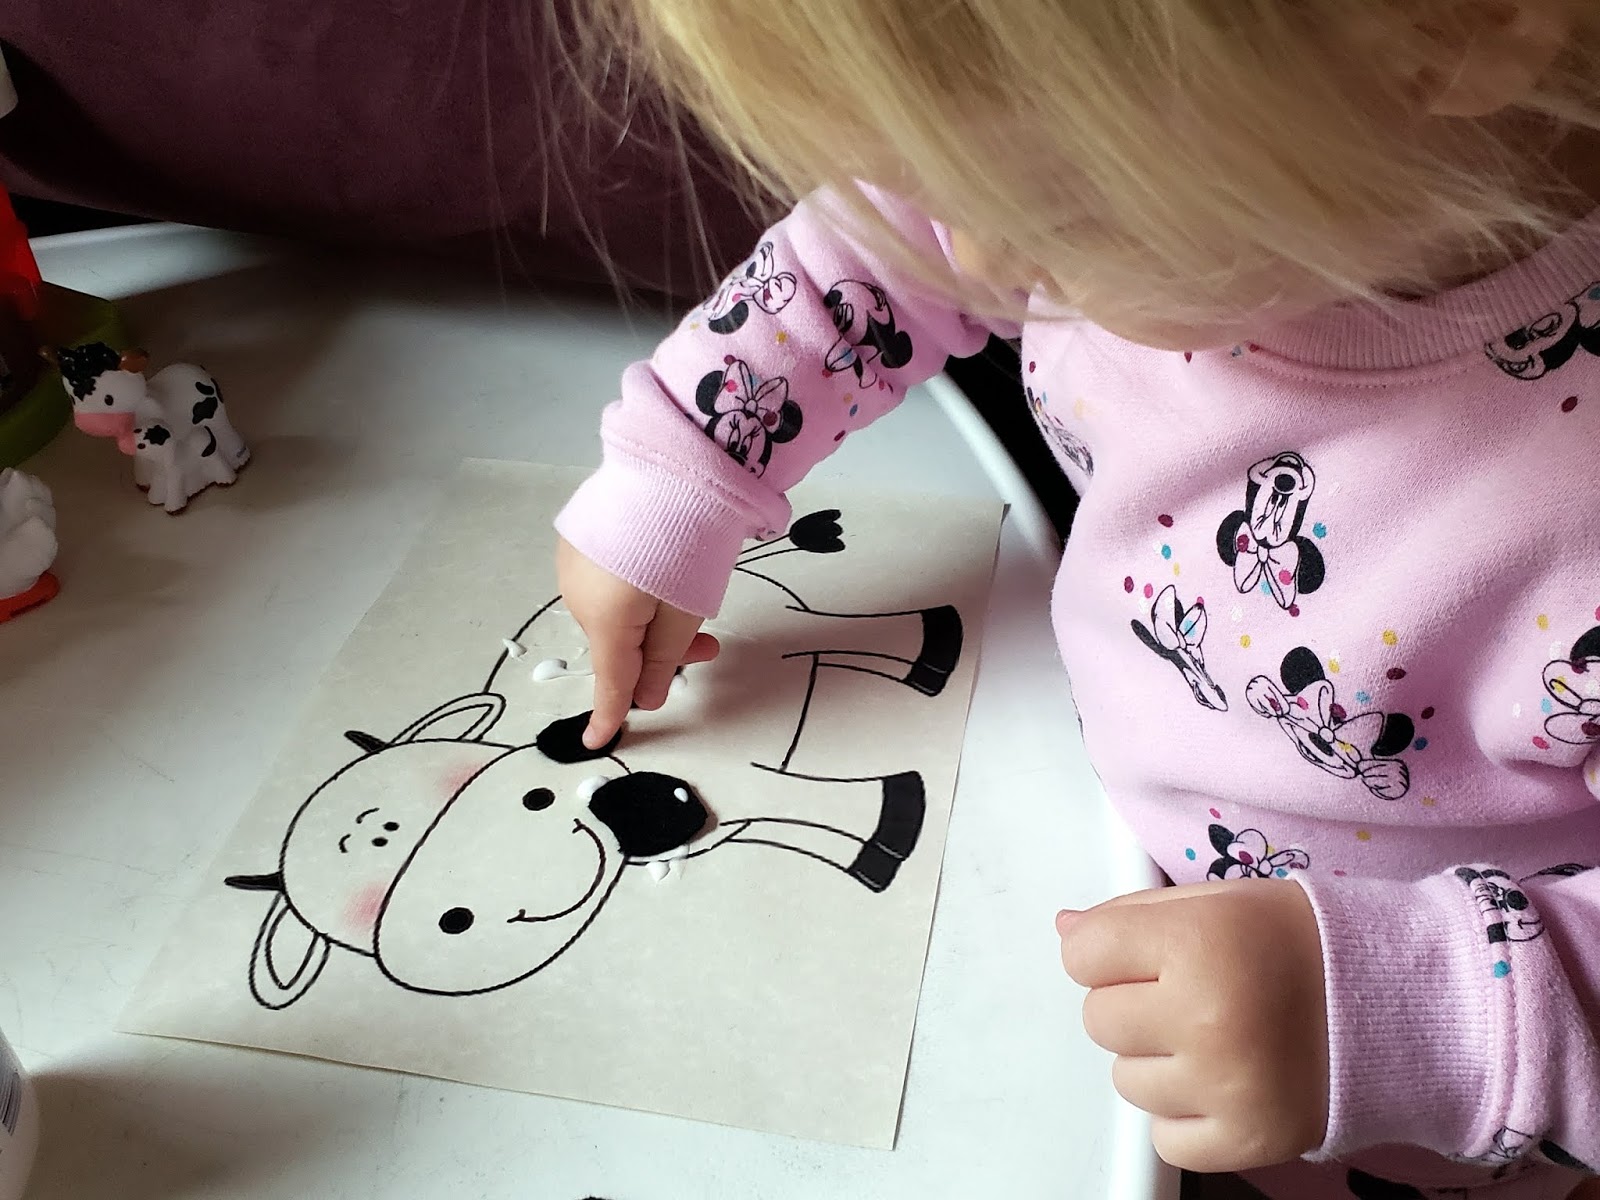
I supplied Sweet E with a few pieces of felt and glue, and let her adhere them however she pleased.


She just loves glue!


And I figured the felt would add a nice new texture to her project that she wasn't used to.


So cute!


Build a Fence - Counting
I printed this page from Fairy Poppins. Sweet E is at a wonderful age for this type of activity. She loves counting, and is learning so much each time we practice.


I added a little bit of magnetic tape to the back of each craft stick, to help prevent them from sliding around. When she picked up a number, she'd either say it herself or I'd talk about it conversationally. "Oh, you picked up the seven. Where does the seven go?" She is starting to recognize several of these though!


When she finished building the fence, she counted them all up, pointing as she did.


Then she brought her farm animals over to it!


Corn Sensory Bin + Letter Hunt
I had a near-full container of popcorn kernels about to expire. So I poured them into a bucket and hid magnetic letters inside it. Just the letters we have done so far. She had to find them, and match them to the letters on the paper. 


She knows the first letter of her name, and everyone in the family! She's always sure to say it! And I don't know how, but she already recognizes the letter F. I remember Little M&M knew it right away too. There's something about this letter!


She enjoyed scooping, and digging her hands into the bucket.


When she had finished finding and matching all of the letters, I brought over another bucket so she could keep playing.


And eventually, she put the letters back inside the bucket so she could match them all over again!


And then she kept scooping and playing with the corn kernels! I love when an activity holds her attention for so long.


Herd the Sheep - Gross Motor
I had some leftover white balloons from a birthday party, and drew some sheep faces onto them. Before I even showed her the activity, Sweet E noticed them and said "Sheep Balloon" so I'm glad to know they actually looked like sheep!


I created a little pen around the couch, and Sweet E needed to herd the sheep back into it.


I let her use my retractable bug swatter, which made it even more fun!


Oftentimes she'd use her hands and say, "I got you, sheep!"


She loved this game, and we did it a few times in a row.


Actually Honey Pot and Little M&M came home from school later, and wanted to play with them too. I mean, look how cute!


Muddy Pig Craft
I saw this project at Teaching 2 and 3 Year Olds. I love the idea of a mess-free painting craft, plus it has a little sensory element to it with the addition of shaving cream.


Sweet E enjoyed squishing the shaving cream around in the baggie!


And spreading it around.


When she was done, I took it out to dry and then cut it out. What a muddy piggie!


* * * * * * * * * *


Saturday, April 25, 2015

F is for Farm!

This week we learned about farms, while learning to recognize the letter F! It was a fun week! Take a look at what we did:

Books

We borrowed many books from the library. Honey Pot's favorites were I Spy on the Farm and Clip Clop. Little M&M's favorites were Color Farm and Ah-choo! These helped us learn so much about what goes on at a farm. We read these often throughout the week.


Magnetic Pom Poms

As with each letter unit, we began our activities with a do-a-dot page. I like the ones from Shannon's Tot School. I always give Little M&M the choice to use magnetic pom poms or dot markers. He chose the former today!


And Honey Pot likes to do his activities too, with her own big girl twist. Here she filled her F in a pattern: yellow, blue, purple, green. So sweet.


Foot Print Horse Craft

This is such a cute idea, coming from Busy Bee Kid's Crafts. First each of them traced one of their shoes onto construction paper, for me to cut out. I also cut out a long shape to represent the horse's neck. They glued their horses onto another sheet of paper.


Next they glued on two eyes. Then they added lots of snippets of yarn for their beautiful manes.


Little M&M didn't quite understand the perspective of this picture, so he decided to draw some feet below his horse's head. Both finished products were adorable!


Farm Worksheets

This and the following came from Gift of Curiosity's Farm Pack. First Little M&M matched farm animals to their shadows.


Honey Pot worked on a Which is Different worksheet.


And Little M&M completed a Which is Different worksheet as well.


Then Honey Pot sounded out a few words with another page from that farm pack. I provided her with a handful of letter tiles from our Upwords board game. And she sounded out the animals names!


Some letters could not be sounded out, so I provided them for her.


And meanwhile, Little M&M enjoyed stacking the letter tiles up!


Oats Sensory

We love sensory bins! For our farm unit, I provided each of the kids with a pan full of oats. Previously in the week we talked about the foods that farm animals like to eat. They were both able to tell me that horses eat oats!


Then they got to work scooping and leveling...


pouring and filling small containers...


dumping and forming circles...


raking...


and even tasting!


They had a ton of fun with this for quite a long time. Sometimes they really dug their hands in!


Later we brought a couple of horses into the mix, and they began the pretend play.


Sorting Farm Animals vs. Not Farm Animals

We brought out our animal magnet set and sorted them onto two trays.


First Honey Pot, and she did a flawless job...


Then Little M&M gave it a try. 


Success!


Farm Floor Puzzle

This is a favorite among our floor puzzles, made by Melissa and Doug. The kids took turns completing this big 32-piece puzzle, and we pointed out all the animals within it.


Stencil Art

We LOVE stencils. Remember when we used our sea creature stencils with sticky paper + sand? It was one of our favorite crafts! I came across these Dover stencils on Amazon for just $1.99. The stencils come in just about any theme you could want. So to try them out, I bought a pack of farm stencils. They are quality, glossy cardstock and work very well. The kids each picked an animal and a colored pencil, and they got to work. We taped ours down with masking tape, so they wouldn't slide around.


See how many stencils come in a pack? I can't wait to buy more for other themes!


Notice Honey Pot's picture on top. She even drew the sun, sky, grass and a pond for the duck. Little M&M did such a great job too! Fun art project.


Counting Legs

Just a quick math activity for Little M&M. We pulled out our cute animal magnets again, and he had to sort them by the number of legs they have. He already recognizes the numbers one and five. So this was a perfect activity to give him more exposure to two and four.


Here he is counting very carefully...


Ta-da!


Pigs Rolling in the Mud Craft

Love this craft! We were inspired by Serving Pink Lemonade. First we printed out a coloring page of a pig, and they colored them in.


Here is Little M&M's:


And here is Honey Pot's:


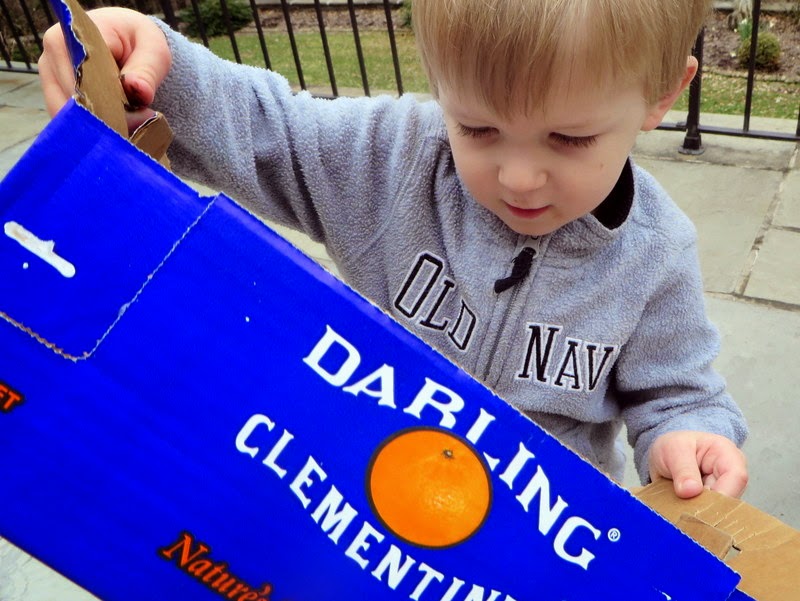
Now the really fun part! I grabbed an empty clementine box, some brown paint and a bouncy ball.


Little M&M dipped the ball into the paint...


and rolled it around by maneuvering the box. This box worked perfectly for our craft, because it had flaps at the top to serve as handles.


Love the movement required as he tries to get his piggy good and muddy!


Next it was Honey Pot's turn.


She loved it equally as much as he did.


Her movements even made a fun border around the page.


When they had dried, the kids each glued on a googly eye.


Then I cut them out. Here is Little M&M's muddy piggy:


And here is Honey Pot's:


And feel free to take a peek back at Honey Pot's pig unit from 2012!

What do farms provide - Worksheet

I created this matching worksheet to help the kids understand a few of the ways animals and farming provides for us. They each got their own copy and a marker, and we discussed it together.

Here is one you can grab by right-clicking:


Great lesson!


Shearing Sheep - Cutting Activity

I came up with a cute way to get some scissor practice in for the week. I drew a couple of sheep onto black paper for the kids, and taped some crepe paper onto them to act as the wool.


Our library books had referenced the process of shearing, and what the wool can be used for. So this helped to enforce those ideas, while being a great cutting activity too!


Just for fun, I used one of their empty sheets to draw a blanket, a sweater and socks so they can see the "wool" going from the sheep to the end result.


Making Butter - Science Experiment

To complete our farm unit, we made homemade butter! We followed the instructions from Buggy and Buddy. So simple! First we poured heavy whipping cream into a mason jar, filling it halfway.


Then we took it outside (in case of leaking, but fortunately it did not) and shook it up!


After a few minutes we stopped to peek inside. Not much happening yet.


Time to shake it again!


After a few more minutes, we brought it inside to take a closer look. It was starting to really thicken up! We had whipped cream!


But that's not what we wanted to make, so we kept shaking it. And then we had this solid mass. Still not ready! Don't stop shaking!


The butter is ready when you start to hear liquid sloshing around in there. That means the buttermilk has separated.


Pour them out separately. Keep the buttermilk if you want, for baking. At this point we poured ice cold water over our butter, to help drain it of any remaining buttermilk. When the water pours clear, you're ready to go! The butter should keep in the fridge for a bit longer now.


We prepared some toast and spread our butter onto it. No need to add salt, in our opinion, but some people do. What a delicious snack!! We each went back for seconds, maybe thirds. We will be doing this again. It would be a fun way for the kids to contribute to a holiday meal as well. It takes a lot of shaking, so it would occupy them for a long time. Such fun!


***********************************************************************